A Comprehensive Guide to Growing Dill from Cuttings: Tips, Tricks, and Techniques for Success
Discover the secrets of propagating dill from cuttings in this comprehensive guide. Learn step-by-step techniques.
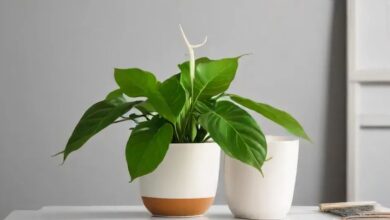
Feathery and aromatic, dill is a multipurpose herb that enhances the taste and aroma of many different foods. While most people think of growing dill from seeds, you’d be surprised to hear that cuttings are another viable option. If you’re short on space or just want your dill crop to be genetically consistent, this is a fast approach to grow new plants. Here, you’ll find detailed instructions on how to grow dill from cuttings, including everything from choosing healthy cuttings to watering and nurturing your new plants.
Understanding Dill:
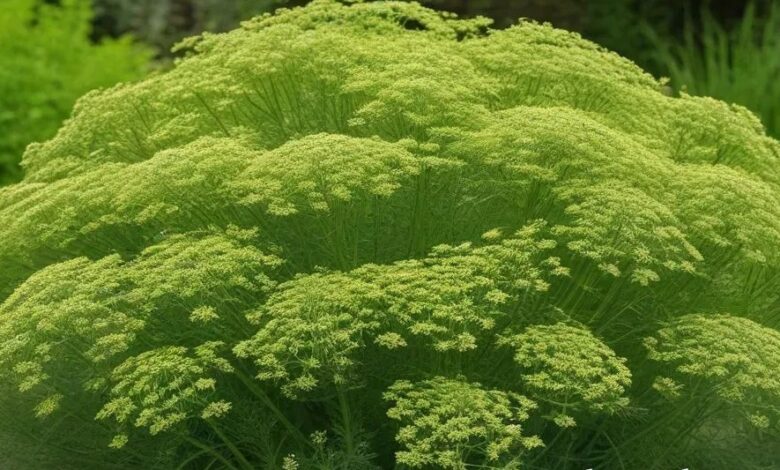
Allow me to pause and express my admiration for this lovely herb before we go into the details of how to grow dill from seed. Native to areas extending from the Mediterranean to Southern Russia, dill (Anethum graveolens) is a member of the Apiaceae family. The medical and culinary applications of this plant are highly regarded. Its leaves, seeds, and blossoms are all utilized in different ways, such as in cooking, pickling, and herbal treatments.
An annual plant, dill only needs one growing season to finish its life cycle. But it spreads easily by self-seeding, so it might come back in good years after bad. The plant usually reaches a height of 2 to 3 feet and has light, fern-like leaves that smell like licorice and lemon.
Selecting Suitable Cuttings:
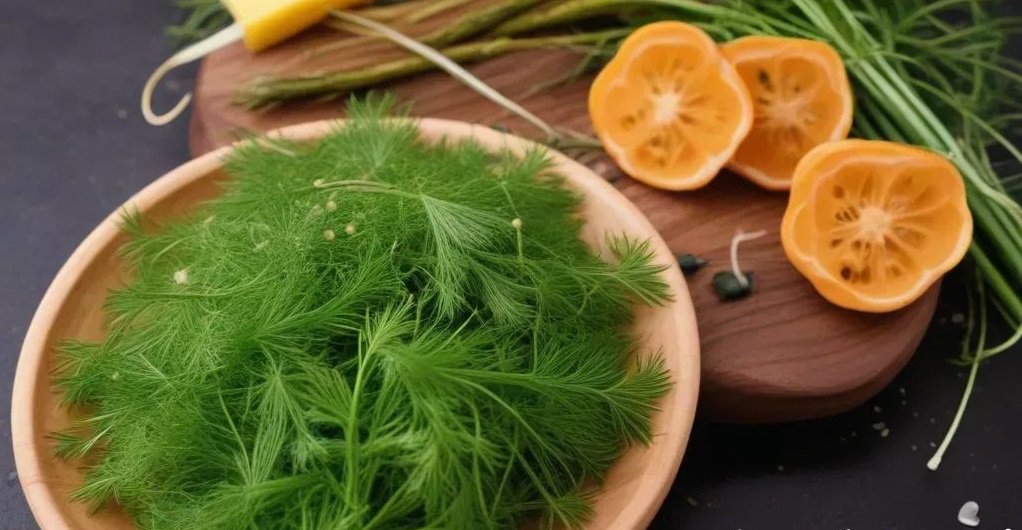
Choosing robust and healthy cuttings is essential for effective propagation. It is important to select cuttings from stems that are both young and mature enough to support the growth of roots when propagating dill. Stems that are too woody or too lanky might not be able to root properly, so keep that in mind. The ideal length for a cutting is 4 to 6 inches, and it should have multiple sets of leaves along its stem. Rooting and general plant health are both affected by stems, so be sure to choose ones that are healthy and uninjured.
Preparing the Cuttings:
Choosing robust and healthy cuttings is essential for effective propagation. It is important to select cuttings from stems that are both young and mature enough to support the growth of roots when propagating dill. Stems that are too woody or too lanky might not be able to root properly, so keep that in mind. The ideal length for a cutting is 4 to 6 inches, and it should have multiple sets of leaves along its stem. Rooting and general plant health are both affected by stems, so be sure to choose ones that are healthy and uninjured.

Choosing a Propagation Medium:
Next, select an appropriate propagation medium after your cuttings are ready. Rooting dill cuttings is possible in a number of different environments, including soil, water, or a mix of the two. There are a variety of approaches; pick the one that works best with your goals and available time and energy.


Water Propagation:
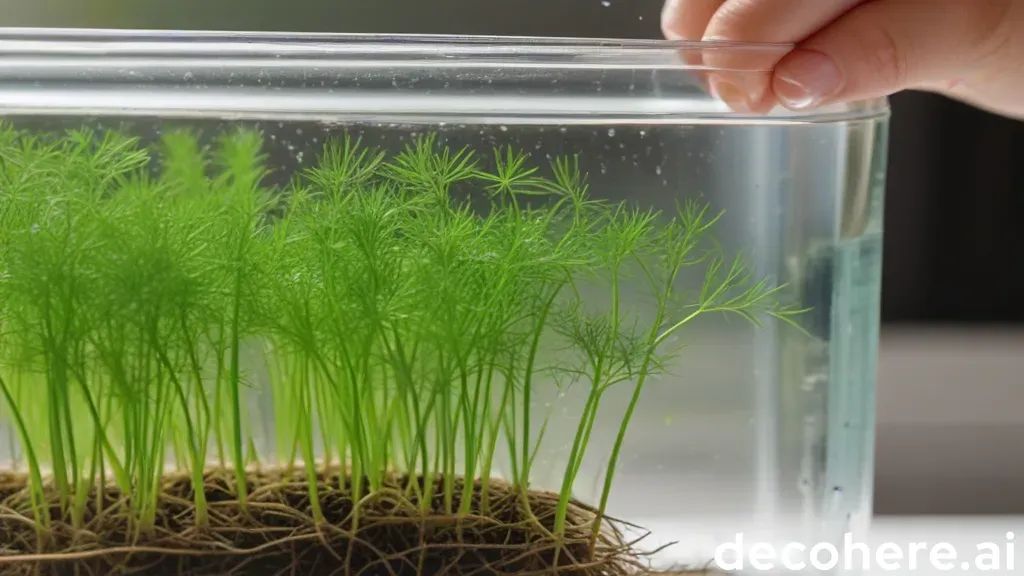
To propagate dill cuttings in water, place the prepared stems in a clean container filled with water, ensuring that the lower portion of each cutting is submerged while the leaves remain above the waterline. Place the container in a location with bright, indirect light and maintain a consistent water level, replenishing it as needed to keep the stems submerged. Within a few weeks, you should start to see roots emerging from the base of the cuttings. Once the roots are well-developed and several inches long, you can transplant the cuttings into soil.
Soil Propagation:
Rooting dill cuttings in potting soil or garden soil is another option. Combine peat moss, perlite, and compost or another well-draining potting mix and fill a little container or seedling tray with it. Poke tiny holes in the dirt with a pencil or something similar. Carefully place the prepared cuttings into the holes, making sure the soil covers the nodes at the bottom and the leaves are above ground. Before putting the container in a warm, sunny spot that receives indirect sunlight, water the soil well to compact it around the cuttings. Within a few weeks, the cuttings should start to sprout roots and establish themselves in soil that is constantly moist but not soggy.
Combination Method:
Rooting dill cuttings in a mixture of soil and water is an option for individuals who like a more hybrid method. The first step is to follow the preceding instructions and put the prepared cuttings in a container of water so that they can grow roots. Carefully place the cuttings into pots filled with damp potting mix once their roots have taken root; be sure to cover the roots with soil while keeping the leaves above ground. This technique is a hybrid of water and soil propagation, which allows for optimal root development in a medium with just the right amount of moisture.
Caring for Rooted Cuttings:
Your rooted dill cuttings will only grow successfully if you take the necessary precautions when propagating them. Important guidelines for the maintenance of freshly propagated dill plants are as follows:
- Lighting: Bright, indirect light is ideal for promoting healthy plant development. The delicate leaves could be scorched if the cuttings are placed in direct sunlight.
- Watering: When watering, make sure the soil or water is constantly moist, but not soggy. Make sure to constantly check the moisture level and water as necessary to keep it from drying out.
- Temperature: Root development is best achieved in an environment that is consistently warm. While rooted, dill does best in temperatures between 60 and 70 degrees Fahrenheit (15 and 21 degrees Celsius).
- Humidity: While dill cuttings don’t really need it, a moderate amount of humidity will help them root more quickly. Think about putting the pots in a humidity dome or tray or spraying the foliage every so often.
- Fertilization: Wait until dill cuttings have established themselves and are actively growing before fertilizing them. It is recommended to start fertilizing plants using a balanced liquid fertilizer that is half strength once they have fully grown.
Transplanting Rooted Cuttings:
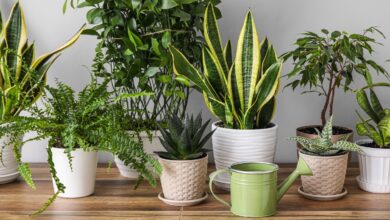
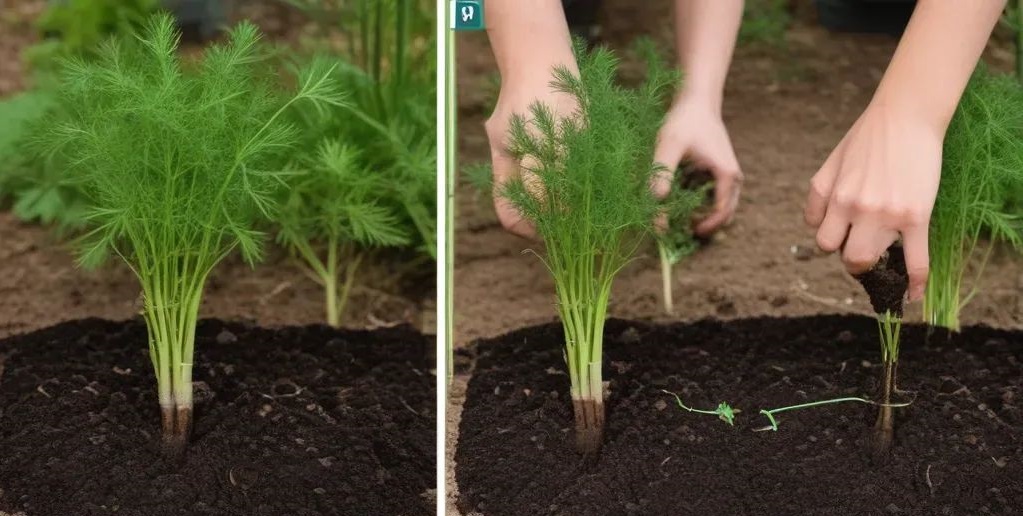
When the dill cuttings have grown strong roots and shown signs of establishment, it’s time to move them to their final planting spot. A well-draining, organically rich soil is ideal for growing dill, whether in a container, a raised bed, or straight in the garden. Under ideal circumstances, dill can grow to be fairly tall, so be sure to put it in a bright spot with enough of room to spread out and air circulation.
Be very careful not to break the fragile roots as you carefully remove the rooted cuttings from their pots. If you want your roots to spread out, gently break up any soil that is packed around them. Plant the dill seeds 12–18 inches apart in well-drained soil, taking care not to crowd the seeds. Dig planting holes in the designated area. Backfill the holes with soil, being sure to carefully press it around the base of each plant, and plant the seeds or seedlings at the same depth as they were growing before. Thoroughly watering the transplanted dill will settle the soil and lessen transplant shock.
Caring for Established Dill Plants:
Maintaining your dill plants is easy once they’ve taken root in their new spot. For those who already have dill plants, here are a few things to keep in mind:
- Plant Watering: Water the plants on a regular basis so that the soil stays moist but not soaked. Once established, dill loves slightly drier circumstances, so be careful not to water it too much.
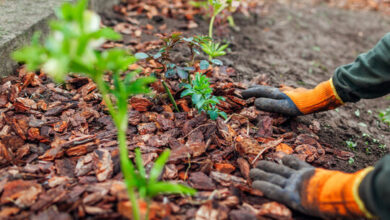
- Mulching: For optimal moisture retention, weed suppression, and soil temperature regulation, mulch your plants’ bases with an organic layer of straw or compost.
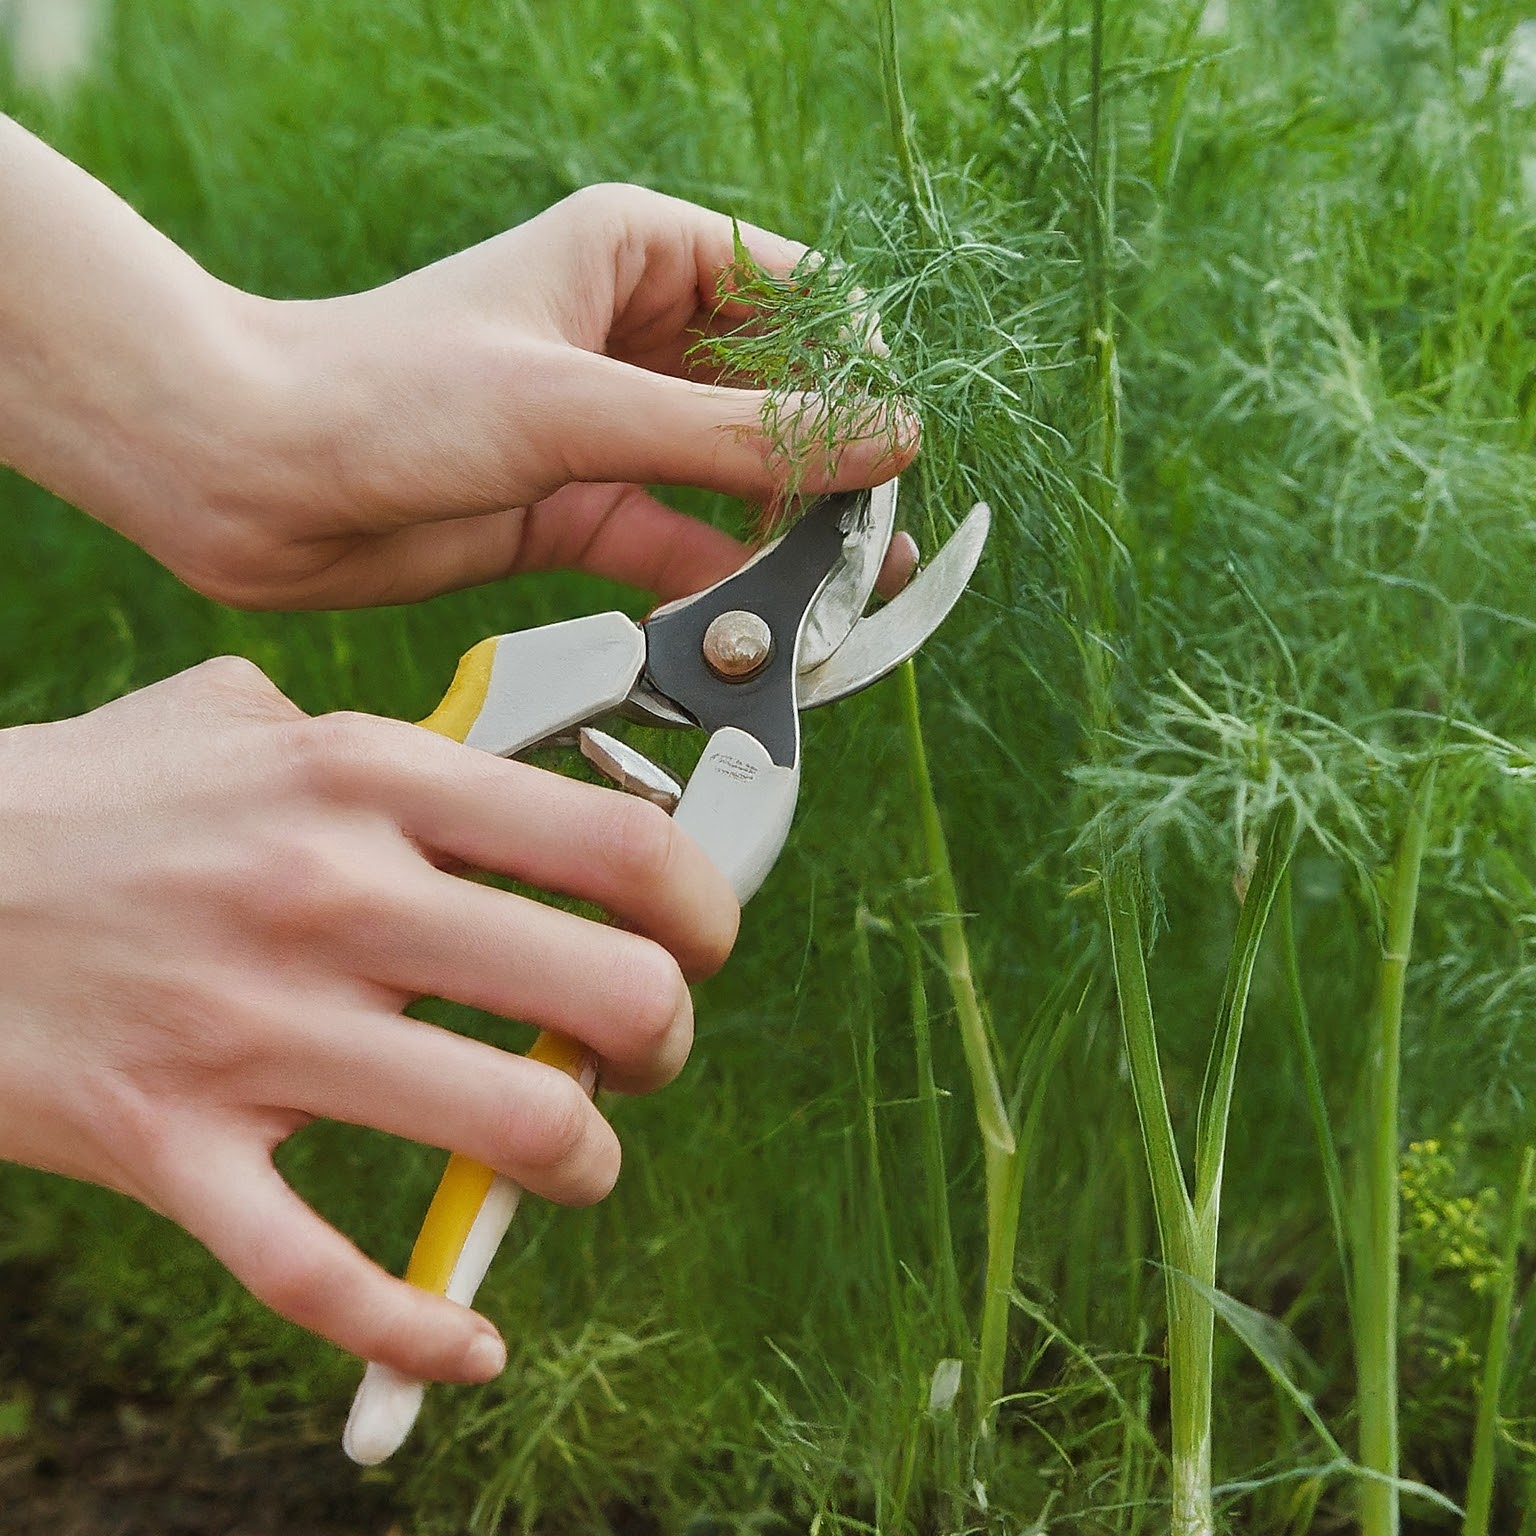
- Pruning: Regular pruning of dill plants promotes bushier growth and extends the crop.
If you want to put the plant’s energy into making new leaves instead of flower heads, you should remove the damaged or yellowing leaves and any buds that have begun to develop.
- Harvesting: When harvesting dill, take care not to remove more than a third of the plant’s foliage at a time; harvest as needed during the growing season. Picking dill leaves first thing in the morning, when the aromatic oils are at their peak concentration, yields the most flavorful leaves.
- Diseases and Pests: Aphids, caterpillars, and spider mites are frequent pests, while powdery mildew is a fungal disease. Take swift action to eradicate pests and diseases before they infect other plants.
Conclusion:
Propagating dill from cuttings is an easy and satisfying way to increase your supply of this aromatic herb. Dill is an easy herb to cultivate from cuttings, so whether you’re a seasoned gardener wanting to diversify your herb garden or a beginner wanting to try your hand at propagation, you’ll have an abundance of fresh dill for cooking in no time. If you follow this guide and give your dill plants the care they need, you can have a bumper crop of fresh dill to season all your favorite foods and recipes.